Solo creators
You have one talking-head recording and want a focused first cut without sorting through a complex timeline.
Prepare the recording, remove obvious pauses through the transcript, and leave room for a final subtitle check.
what is vrewPractical walkthrough
This vrew tutorial takes you from prepared footage to a review-ready edit with a simple sequence: set up the project, shape the transcript, check subtitles, and refine the final cut.

Before you begin
A little preparation makes the tutorial easier to follow and prevents avoidable rework once your project is open.
You have one talking-head recording and want a focused first cut without sorting through a complex timeline.
Prepare the recording, remove obvious pauses through the transcript, and leave room for a final subtitle check.
what is vrewYou are turning a lesson or presentation into a more accessible video for learners.
Keep the explanation in a logical order, review the wording carefully, and use subtitles as a second accuracy check.
ai video subtitleYou need to turn an interview, briefing, or product explanation into a concise internal draft.
Mark the strongest statements first, then shorten the edit without losing the speaker's main point.
vrew aiYou are reviewing a spoken clip where timing and transcription accuracy matter more than visual effects.
Use the transcript as a study aid, compare text with audio, and flag terms that need a manual correction.
is vrew ai safeCore workflow
Follow these three stages in order. The aim is not to add every available feature, but to make each decision easy to review.
Choose a focused recording and keep the original file unchanged. Open a new project, import the video, and wait for the transcript or analysis to finish before making detailed cuts. Play the opening minute to confirm that the audio, image, and spoken language were recognized correctly.
Read the transcript once before cutting. Remove repeated phrases, long pauses, and off-topic sections only after you understand the whole point. Recheck every cut in the video view so a text deletion has not created an abrupt visual or audio transition.
Scan the transcript against the recording, correct names and technical terms, and check subtitle timing near cuts. Watch the complete draft once without stopping, then export or share the version your team can review.
Troubleshooting
Most early problems come from rushed preparation or from trusting the first transcript without listening back.
Refinement
Once the basic edit works, these habits help you move faster without making the final video feel rushed or careless.
Automatic text can mishear names, accents, overlapping speakers, or specialist vocabulary. Treat it as an editing surface, not as final copy.
Workaround
Listen to every important sentence and keep a short list of names, brands, and technical terms to verify manually.
Removing a sentence may leave an awkward reaction shot, a jump in framing, or a missing visual explanation.
Workaround
Preview each major cut in context and add a suitable visual change only when it supports the spoken idea.
Correct words can still appear too early, too late, or in distracting line breaks. A technically present subtitle track is not automatically a readable one.
Workaround
Watch the finished draft with audio lowered and check timing, line length, punctuation, and proper nouns.
The tool can help organize and refine footage, but it cannot decide which claim, example, or emotional beat matters most to your audience.
Workaround
Write the video's intended takeaway in one sentence before cutting, then use it to judge every section you keep.
Visual check
The difference between a usable draft and a polished one is often visible in structure, subtitle consistency, and the number of distracting pauses.
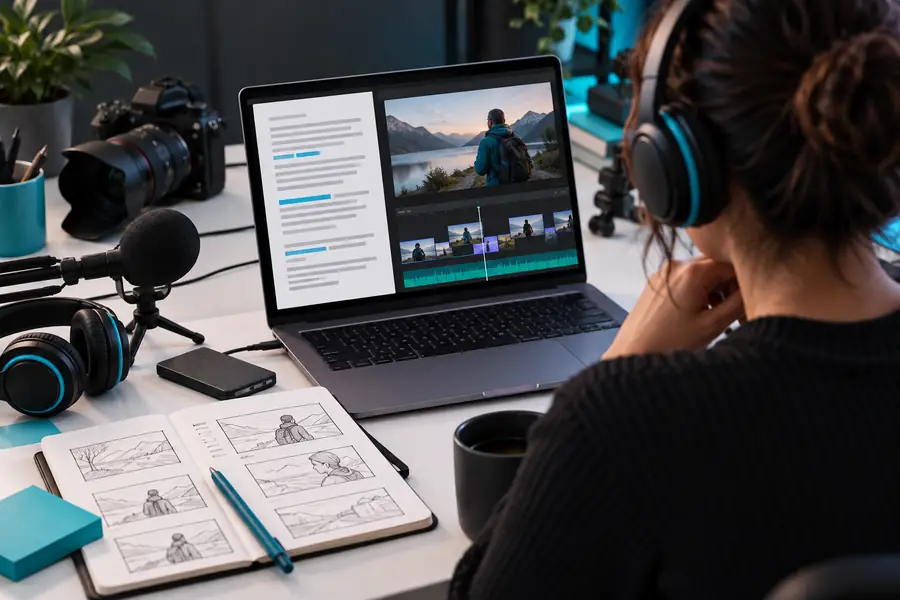 Rough draft
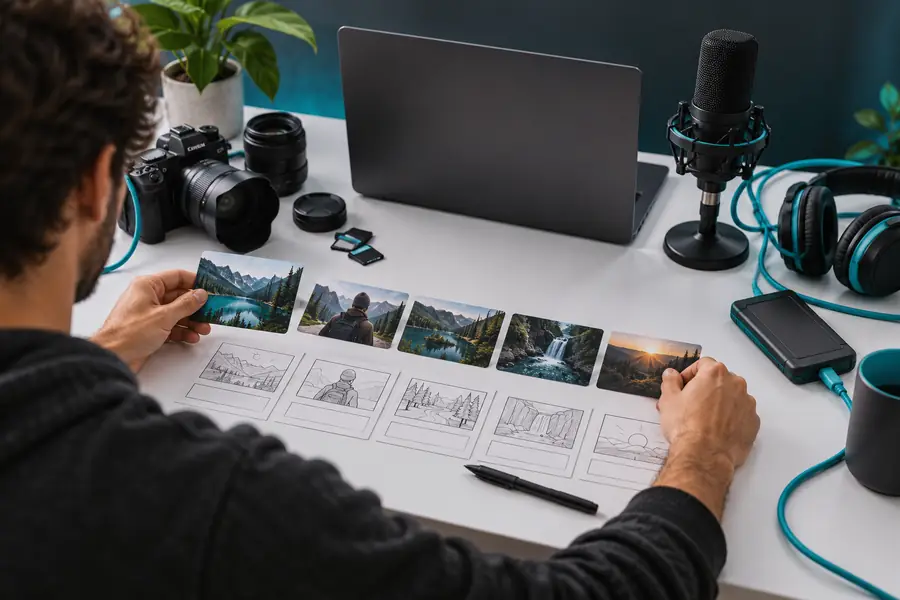 Review-ready cut
Workflow reference
Use this side-by-side checklist to decide what to inspect at each stage rather than trying to perfect everything at once.
Primary goal
First pass
Understand the full recording and find the strongest sections.
Final pass
Deliver a coherent edit that another person can watch without explanation.
Transcript use
First pass
Use it to locate ideas, pauses, repetitions, and topic changes.
Final pass
Use it to verify every important spoken line and subtitle phrase.
Cutting standard
First pass
Remove obvious dead space and clearly off-topic material.
Final pass
Check rhythm, continuity, context, and whether each cut earns its place.
Subtitle standard
First pass
Correct major recognition errors so the draft is understandable.
Final pass
Check wording, timing, line breaks, names, punctuation, and readability.
Audio review
First pass
Confirm that speech is present and the opening is usable.
Final pass
Listen for abrupt joins, missing words, distracting noise, and uneven levels.
Export decision
First pass
Save a draft for feedback rather than treating it as finished.
Final pass
Export only after a full uninterrupted watch and a final file check.
Feedback loop
First pass
Ask focused questions about structure and missing content.
Final pass
Apply agreed changes and label the final version clearly for handoff.
Next action
Keep the first project focused: one source, one audience, and one clear takeaway. Use the transcript to make the rough cut, use the video view to validate each decision, and reserve the final watch for subtitles, continuity, and export checks.
Open the editorQuick answers
Have the original video file, a clear idea of the audience, and one sentence describing the video's purpose. It also helps to note names or technical terms that may need careful transcript checking.
A transcript can provide a practical way to locate spoken sections and remove unwanted words or passages. Always preview the resulting video, because a text cut can also affect timing, visual continuity, or the surrounding audio.
Listen to the recording while reading the generated text, then correct names, numbers, specialist terms, and punctuation. Watch the complete draft with attention to timing and line breaks rather than checking isolated subtitle cards only.
Make one uninterrupted watch after the main cuts are complete. Note problems in structure, audio, subtitles, and continuity separately, then make a focused revision instead of changing several unrelated elements at once.
Usually, no. Establish the spoken structure and remove unnecessary sections first; then add only visual changes that clarify the message or cover a purposeful transition.